Showing posts with label workshops. Show all posts

24 February 2013

Encaustic Workshop

I'm leading another encaustic workshop in March.

Here's the info...

Saturday, March 30, 2013
12:00pm until 4:00pm

At my studio
854 W 5th St, Winona Minn.

Pay with PayPal or by check/cash
Contact me at monta@montagaelmay.com if you don't want to use PayPal.
Workshop Cost: $80
Class fee ($40) + Materials fee ($40)

Register at montagaelmay.com/workshops

You can also order Take-home Kits - 3 varieties
All kits include 6 – 40 oz. paints and an Ampersand cradled 6" x 6" Encausticbord™
See website for descriptions of kits

Ages 14 & up


A demonstration of materials and techniques will be followed by supervised work time where you will have a chance to experiment with the paint and tools. You will leave the workshop with several paintings.

I provide pre-mixed encaustic paint, beeswax and pigments for mixing your own colors, brushes and paper/boards.

Consider bringing interesting items to embed in the paintings:
     photos*
     clippings from newspapers & magazines*
     small flat items (rocks, buttons, fabric or other sewing notions, etc)

     * these items will give mixed results – but we're planning to experiment, aren't we?

Participants will receive a discount code for your first order from RF Paints.

Please register by March 26

NOTE: You must register by 3/20 if you want to order any of the Encaustic Kits and have them arrive by the workshop date. You can of course order them after the 20th and pick them up from me when they come in.

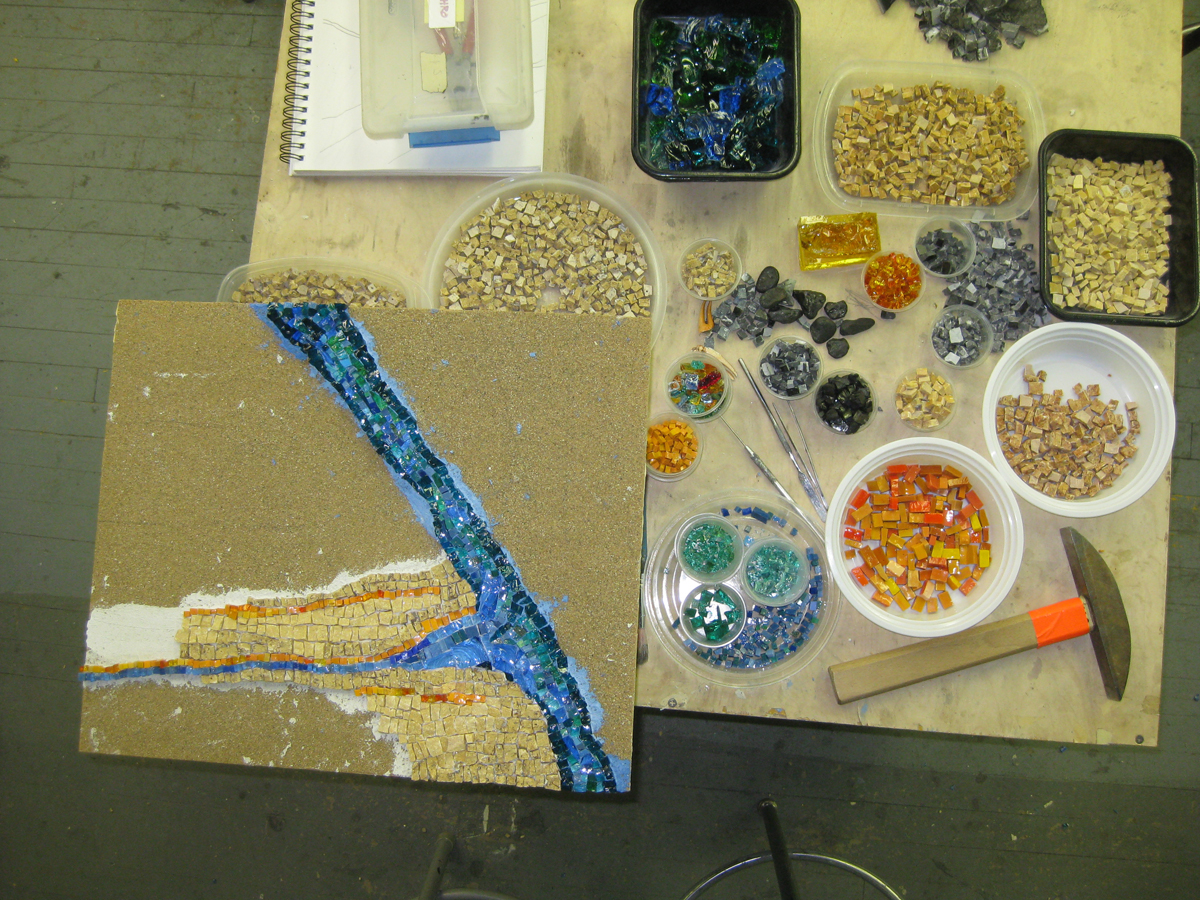
Photos from the October workshop:


30 June 2011

Recent Mosaics

I've been working on several mosaics during the last two months. Sometimes it's more important -- or perhaps simply easier -- to just keep doing the art than to be doing it and documenting the doing of it... however that's not what I should be doing.

I think I'll just post some final product photos tonight since it's getting late (and I still have to optimize the images...). Over the next few days I'll describe the process and show the incremental images.

The finished mosaic from Verdiano's Contemporary Mosaic Workshop
at the Chicago Mosaic School. No title yet...

Mosaic for Jason  - part gift, part barter for dreadlocks.

Mosaic  for Eileen -- given as a gift -- One of two finished
pieces from Sophie's Dalle de Verre workshop
at the Chicago Mosaic School.  

Ab Ovo -- One of two finished pieces from
Sophie's Dalle de Verre workshop
at the Chicago Mosaic School.   

 Ab Ovo -- backlit

Small mosaic & driftwood sculpture.

I'm also working on a 4' x 3' mosaic for the university that is nearly finished.

08 April 2011

Day 3 with Verdiano and Sophie...

I'll start this post off with the photos... There are three - one of the sketch for the mosaic, one of my table at the end of the day and a close-up of the mosaic.


I'm thinking its title is Facing (maybe Finding, or Hunting) the Mystery... or something like that.

I had the option to go on a tour of mosaics in Chicago, but I was on a roll with cutting tesserae, so I stayed behind and cut a lot of stone. I had enough glass cut so I just focused on the marble. You get in a rhythm and it works well - the hammer strikes the stone perfectly and the cut happens where you want it - then you get cocky and you either get your thumb with the hammer (and the hammer is sharp) or you hit the hardie with the hammer (*shame*) or your cuts go all wonky and you cannot get the pieces you want no matter what. So the moral of the story is:

STAY HUMBLE and your cuts will satisfy you (and Verdiano too!)...

Verdiano and Sophie really seem to like my mosaic at this point. I feel pretty good about the mosaic and pretty damn good about them liking it. Karen said "Wow." too. It's great to learn from people who show you where you're going good and where you could change things up and get better results. I think we'll be doing a critique on Sunday and that will be great too. I love critiques - love talking about everyone's work, together, looking for the strengths in a piece and offering suggestions for making the next work even stronger.

It's great to be working on a piece that is so different. I love the Blenko glass. So I'll be getting some of that when I get the down-payment on the next mosaic (a week from today). I've learned about some great new tools and some of them will be going home with me and others will come later (we're pulling together a list of people interested in the tools from overseas [France? Italy?] so that we can buy en masse and save). And I'm definitely getting a bunch of marble.

21 December 2010

Bamboo Mosaic


This one was done by one of my workshop participants. It was her first mosaic. 

10 November 2010

More Workshop Photographs

Some photos from days 3 & 4, where we finished up carving our foam armatures, covered them with mesh, learned how to mix and apply the initial layer of slurry and concrete, learned how to color concrete and apply it as a second layer, and learned how to make rebar & mesh armatures.

Sherri showing us how to mix a rich-mix concrete
(3 parts portland cement, 3 parts sand, 1 part PII polymer, 1/4 part water)


Coyote with the beginnings of meshing

Sherri showing us how to add internal support, posts/poles for totems and finials,
or soft copper tubing for fountain elements


Coyote Blue - there are several steps between Coyote with mesh and Coyote Blue including an overnight curing wrapped in plastic. I had cement-covered rubber gloves on for most of the steps and did not want to pick up the camera with them on or take the time to wash and remove them (Sherri - "it's real easy to take off cement-covered gloves, but real difficult to put them back on...")


Coyote wrapped up for another curing.


Karen Ami (director, Chicago Mosaic School) and Kiela (student) 
and Karen, this isn't the silliest photo I have of you... not by far.


Sherri demonstrating the use of a few of the tools we used (just a few of the demo photos - she demonstrated most all of the tools we needed to know how to use)


This was a wonderful workshop - life-changing in fact. I'll have photos of Coyote II soon. He's got a rebar armature covered with expanded metal mesh for the base.

All the photos I took

04 November 2010

Sherri Warner Hunter Workshop

Too tired to write much, but here are some images from the workshop I am at this week.
Later in the workshop the piece photographed below will be covered in concrete. Eventually it will be a mosaic.

Tools we are using:
Stationary hot wire - for cutting blocks into the outlines.

Hot hand tools - for refining the initial cuts.


I did not take a separate photo of the cold tools we use - two sizes of wire bristle brushes and a drywall (keyhole) saw. You can see them in some of the photos below - check out the photo of shaping the tail.

Making a model and starting the carving of the foam block:
Clay maquette (model) for foam-core sculpture.


Foam block initial cuts:


Shaping the tail.

Sherri demonstrating installing reinforcement rods to added on elements.

Ears and Tail with rods partially inserted.


Final shaping with cold tools (wire brushes, drywall handsaw).


Nearly there.


Ready for mesh and concrete - shown with clay maquette (scale model)


12 March 2010

Dragon Mosaic

Last night I had the mosaic class at my house. I'm thinking that I will have more of them there. I think that what I will do is have the beginning mosaic class at the Winona Arts Center once a year. Then the rest of the year I will have an "open" mosaic studio at the house. I'll pick two nights a month and people can come, make a small donation for supplies and resources, and make mosaics for a couple hours.

If I wasn't really teaching, but there as a resource I would not ask as much of a class fee. And I would work on my on mosaics during the session - except for the time I spent helping others.

That's how it went last night, except of course there was no fee since it was part of the workshop they had already paid for.

I got a little bit closer to finishing the Dragon: